Showing posts with label diy. Show all posts

Friday, November 4, 2011

Fully . Repurposed

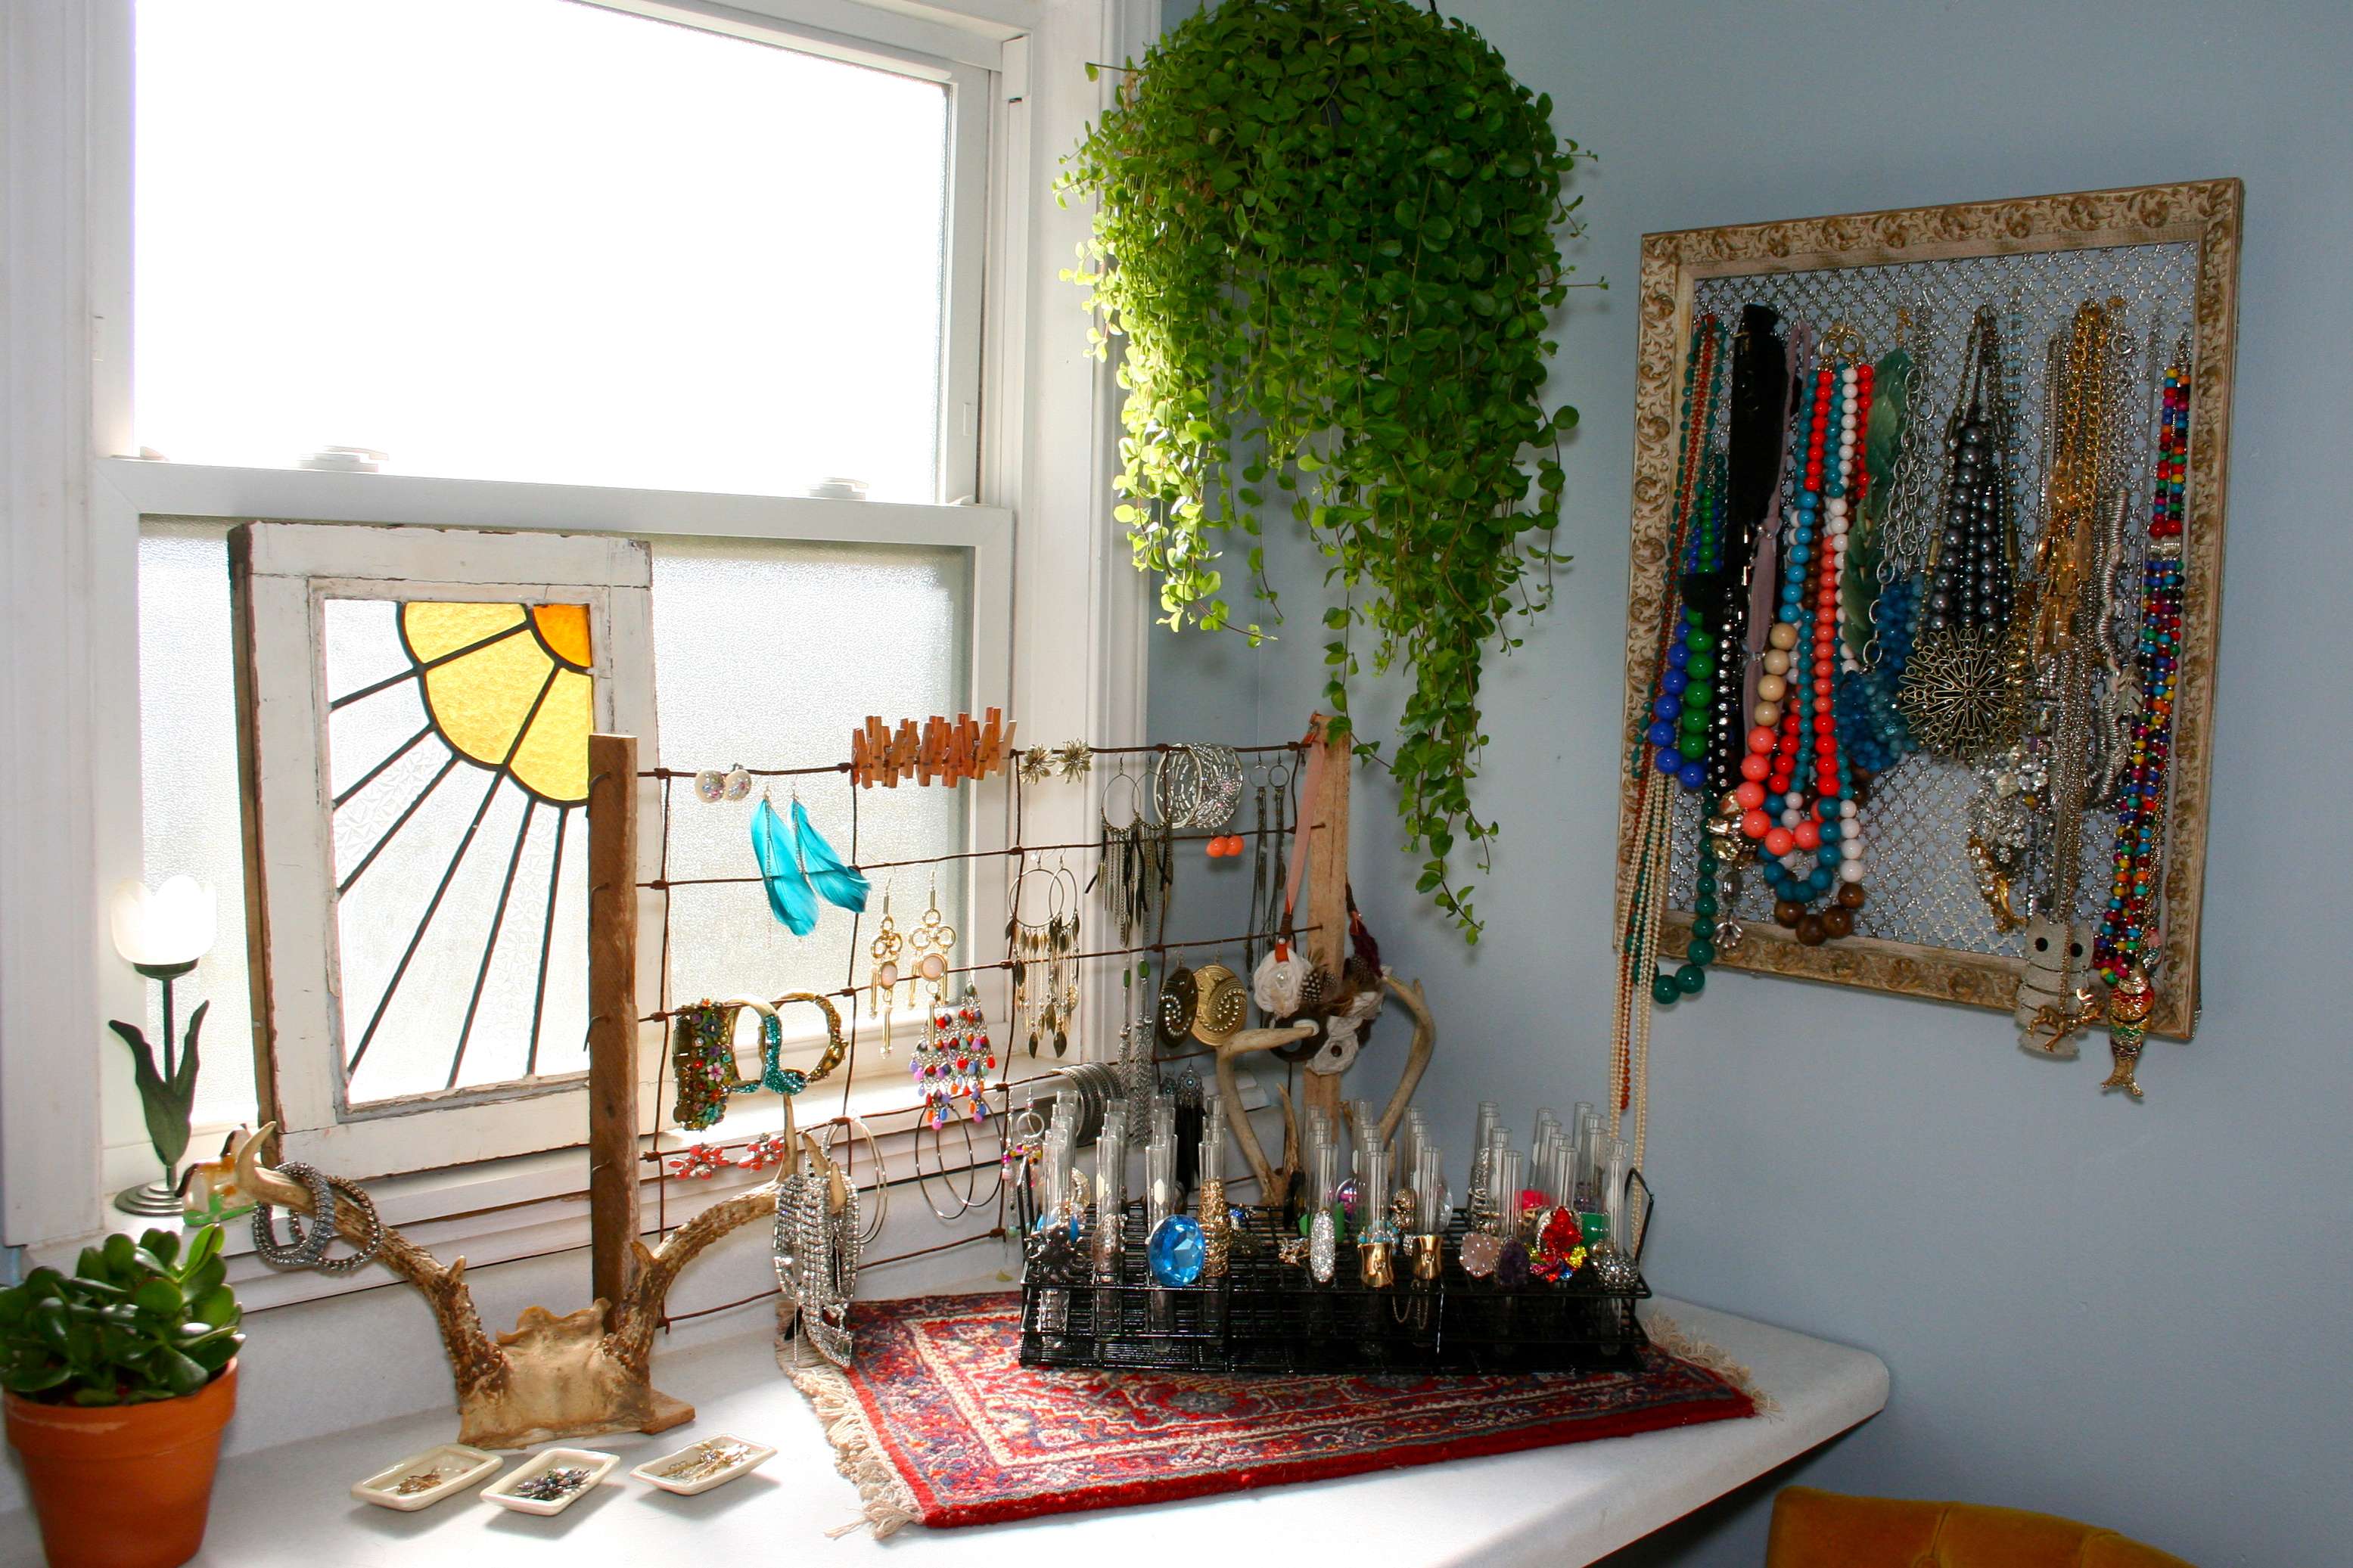
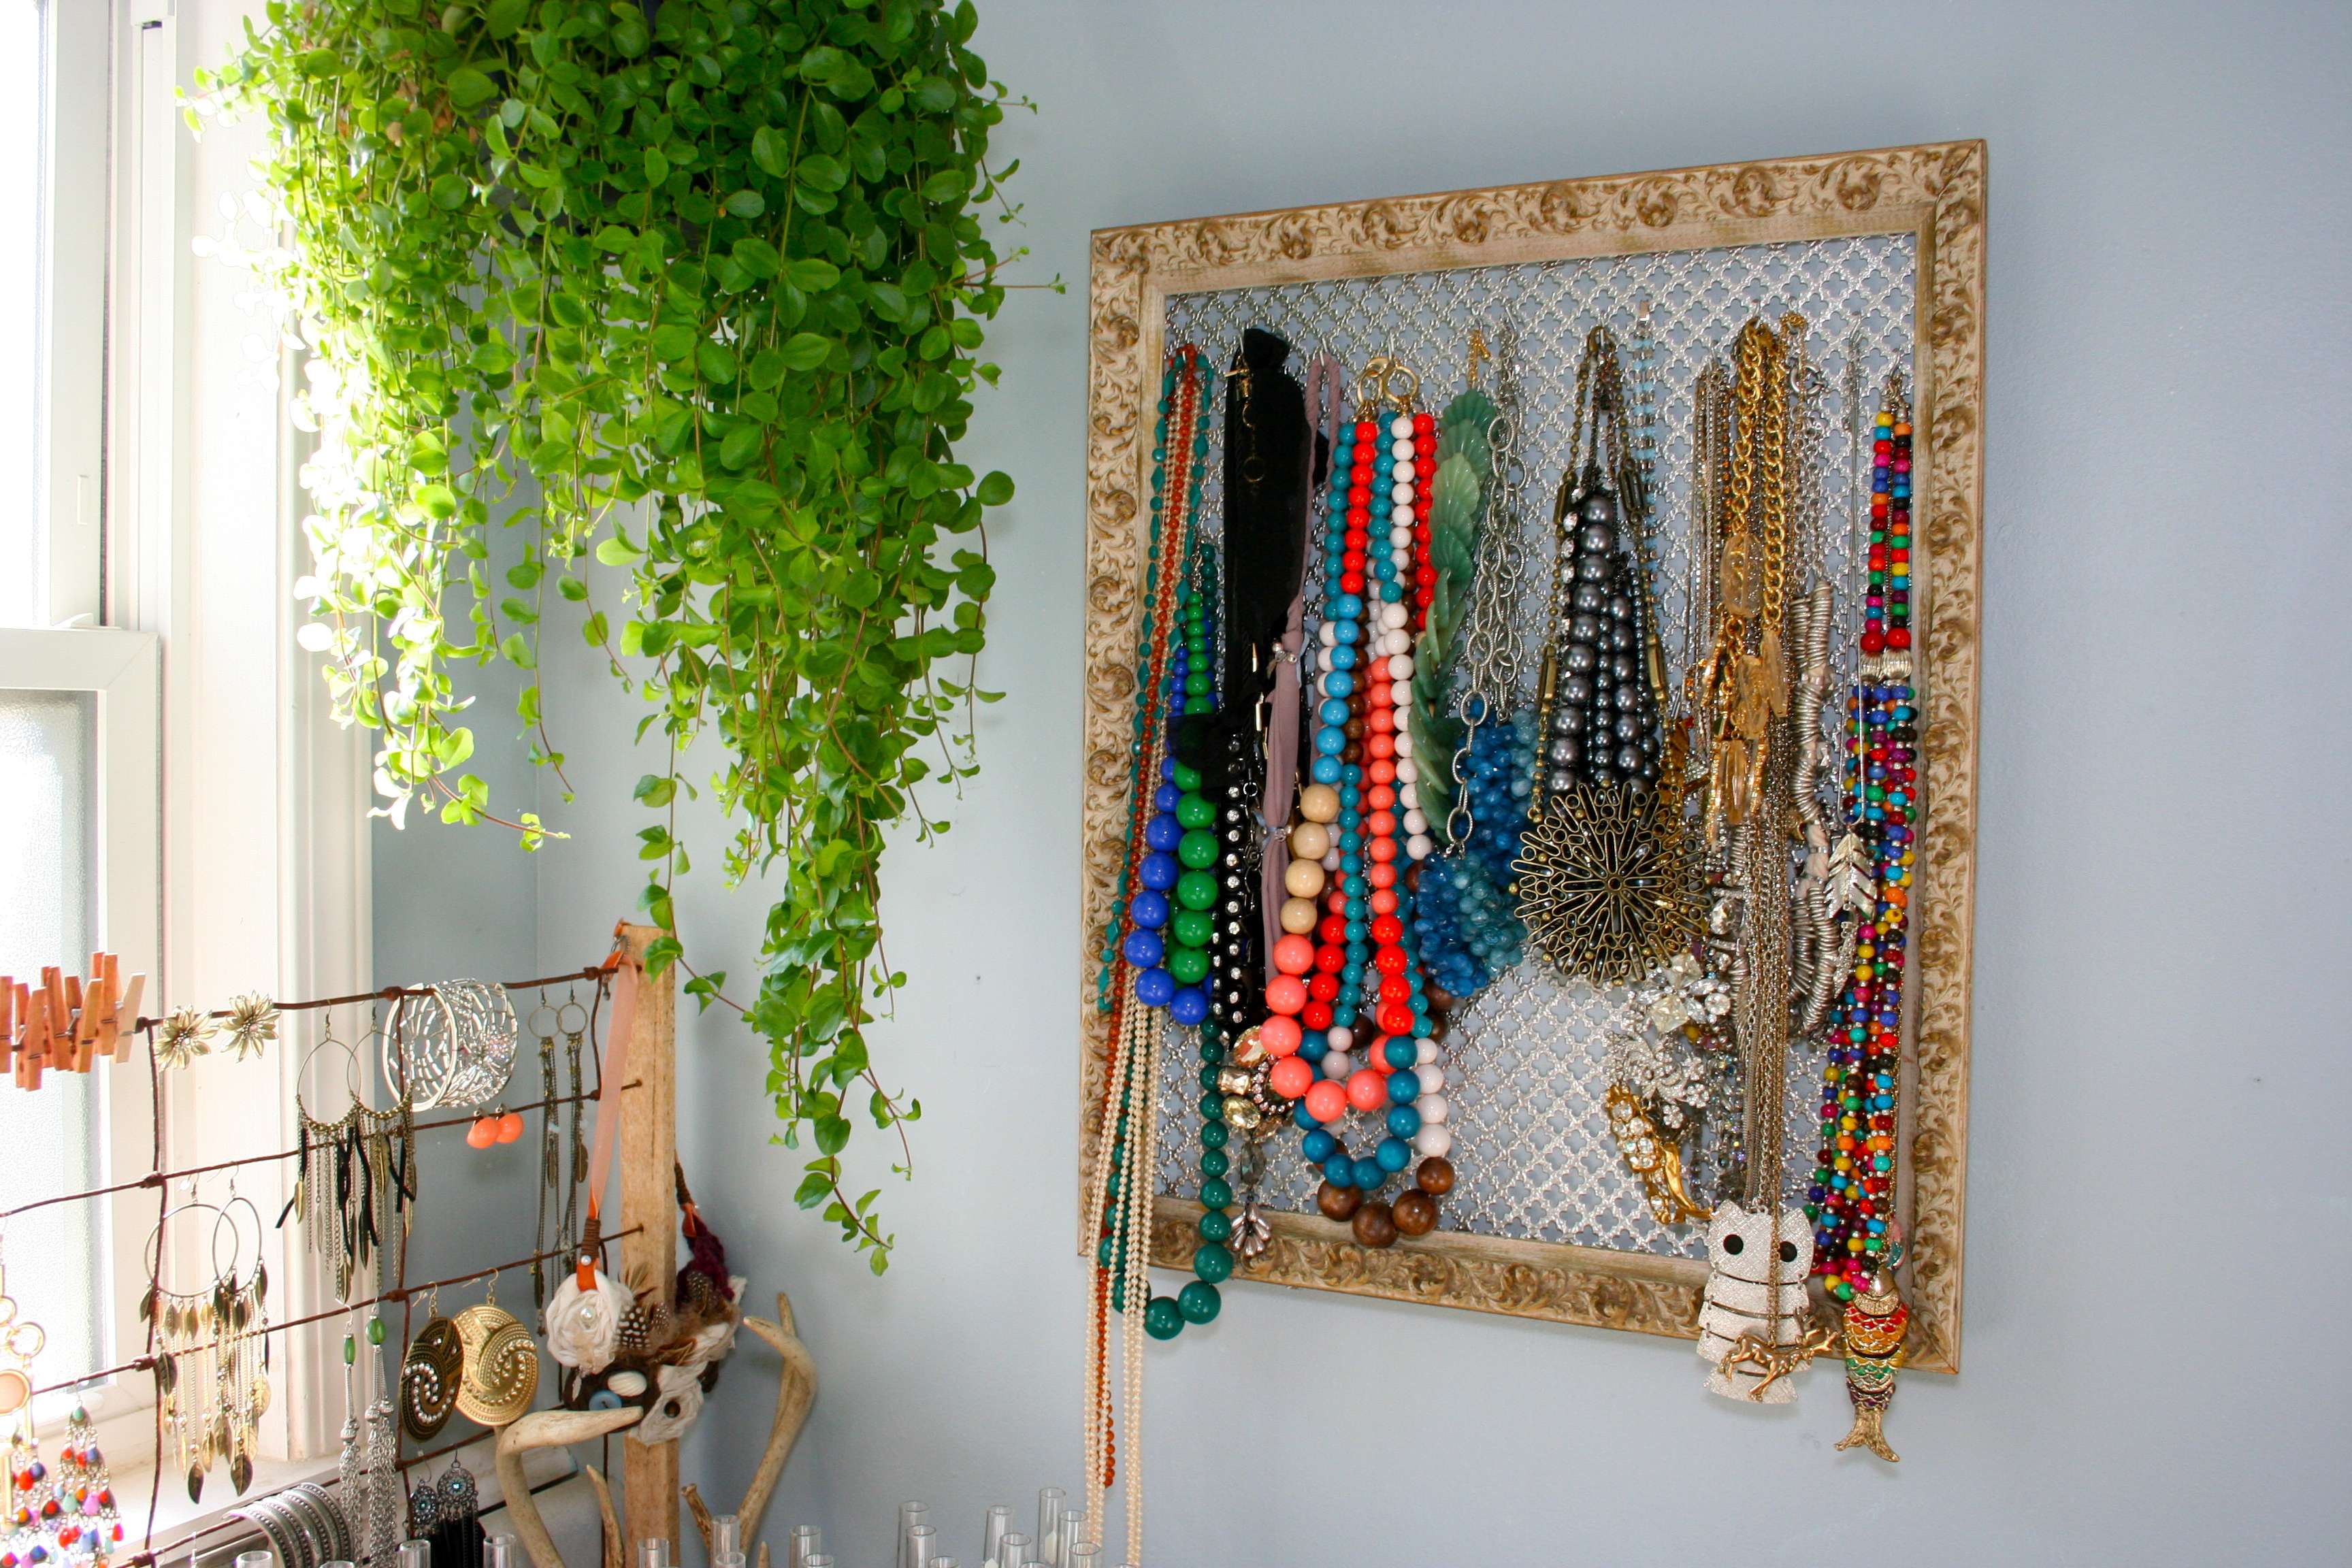
I've been working on ways to display my jewelry for ages now, trying to find a method that's both practical and pretty. This past week I got the final piece I'd been looking for - a great ring display. And the best part about all of it? Absolutely everything has been re-purposed! It's kind of magical what you can do with some old items and a bit of paint. Plus maybe a staple gun.


The jewelry "area"


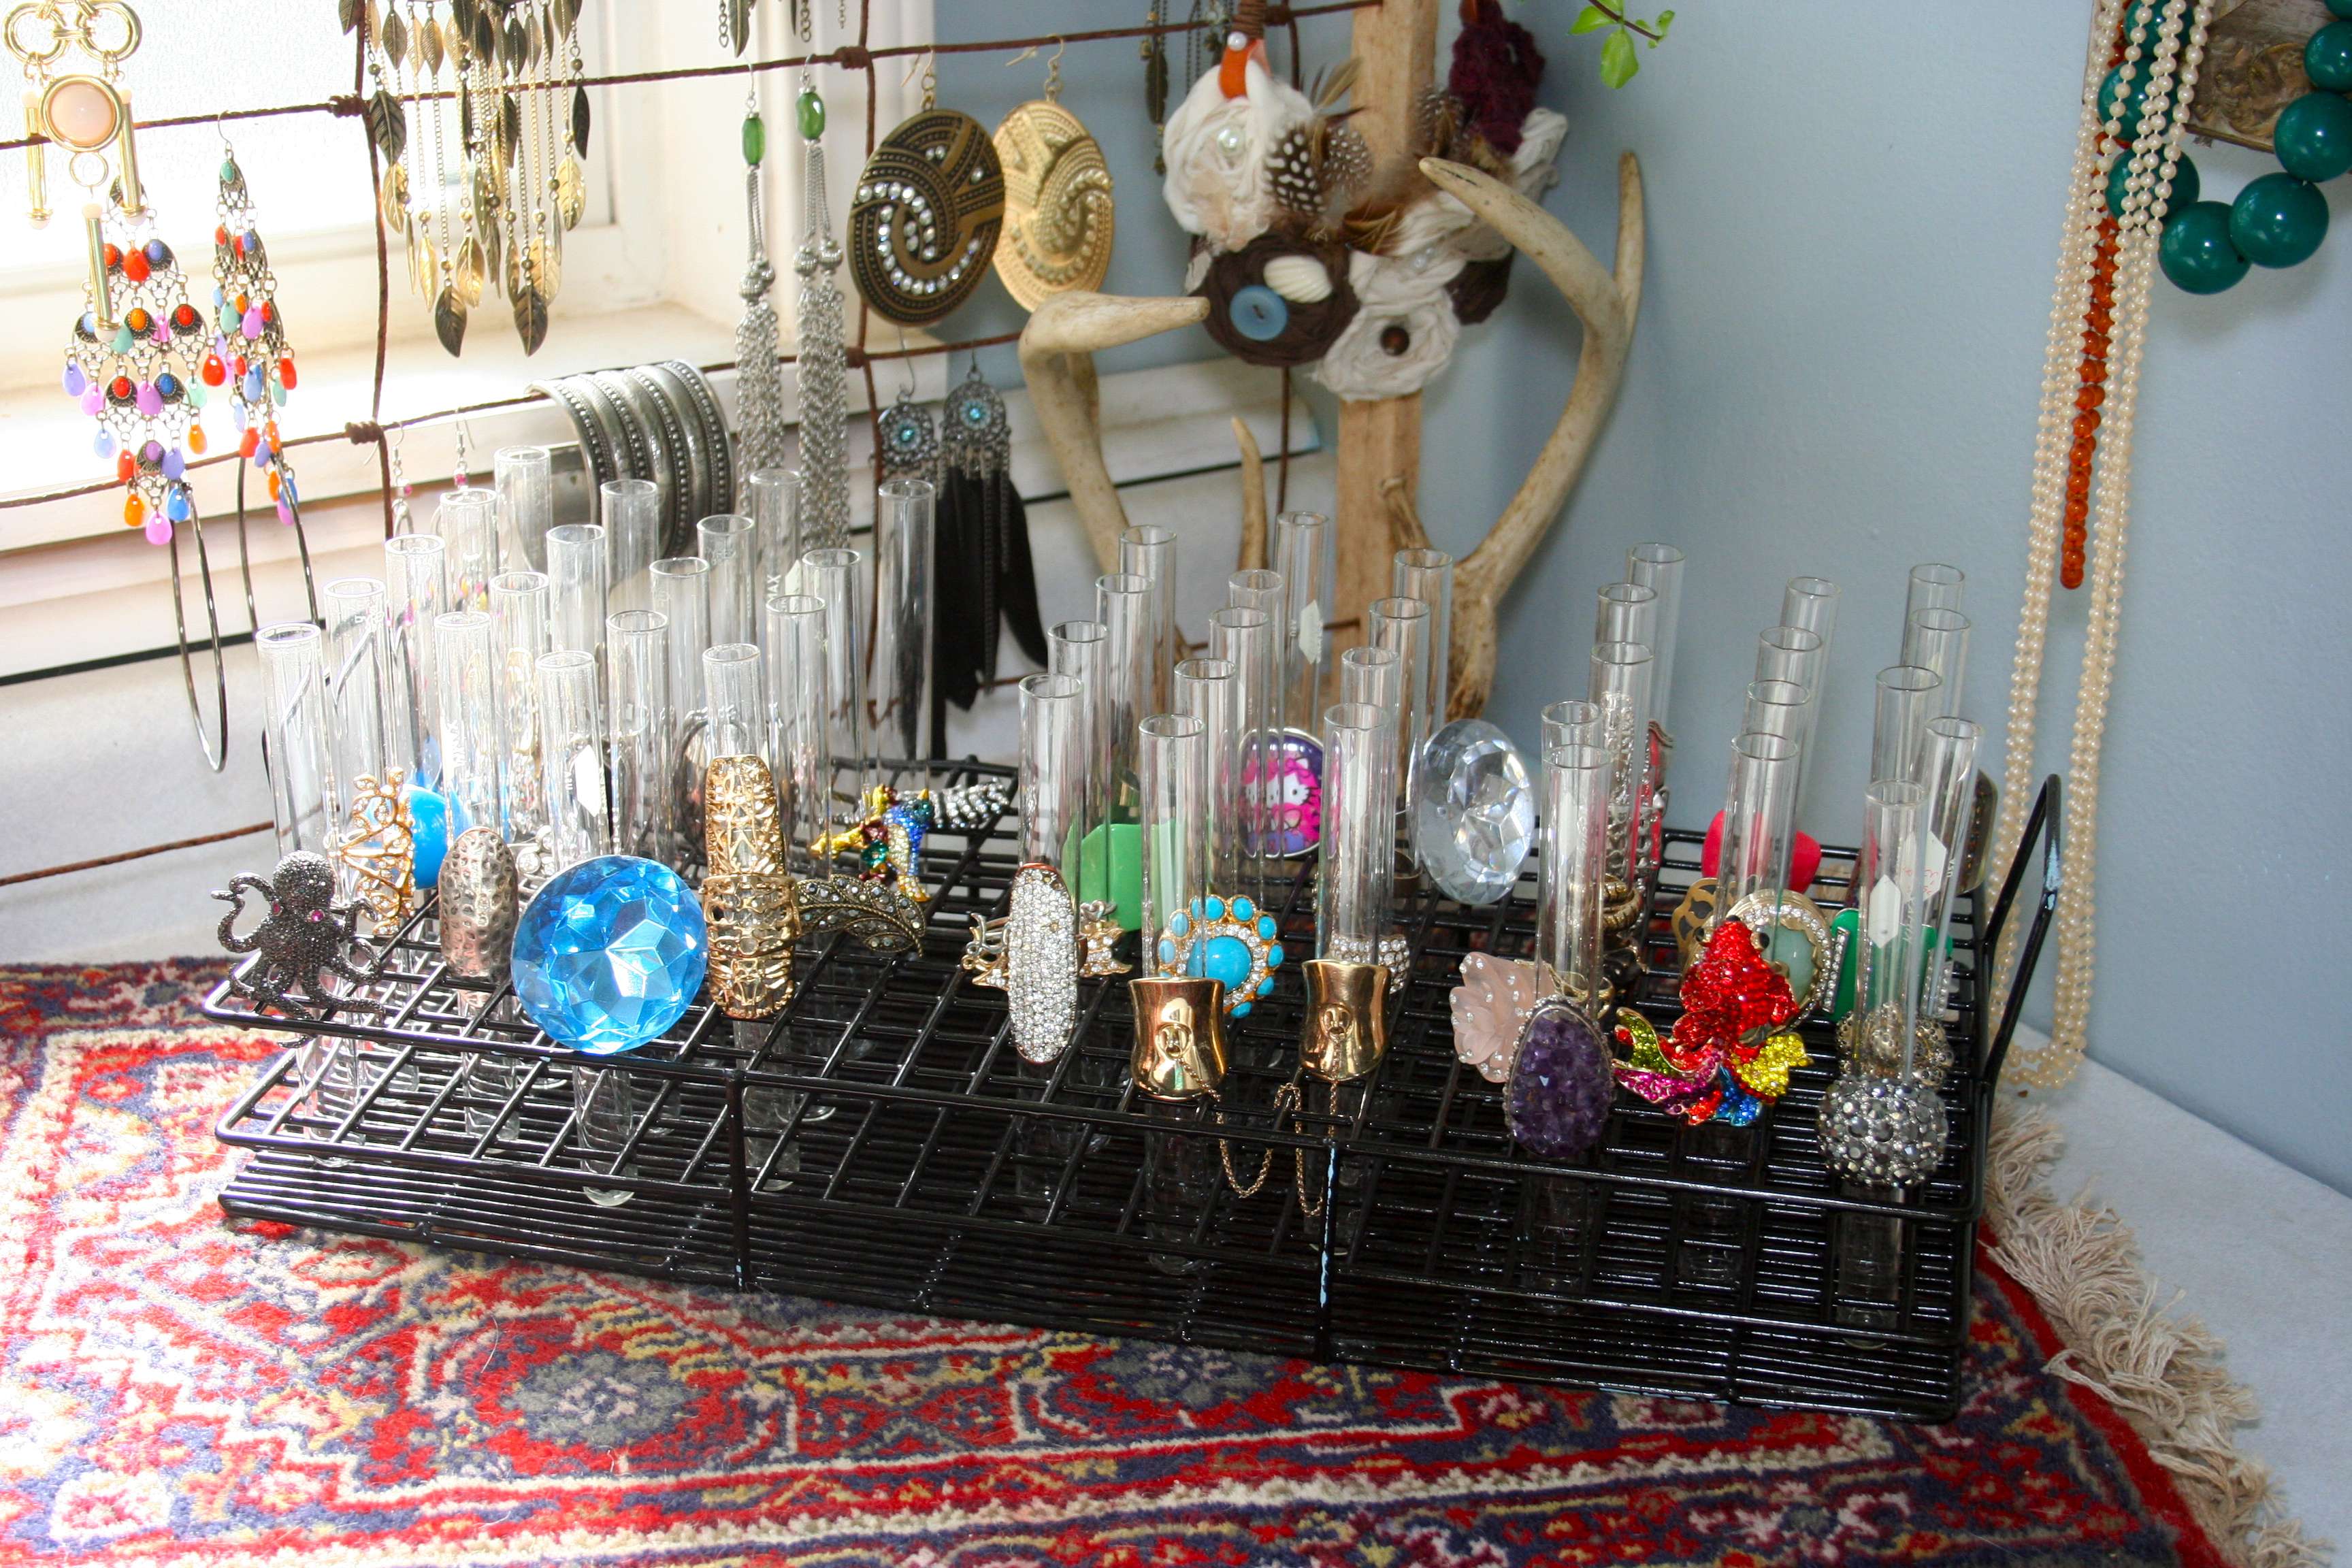
Vintage test tube holder spray painted black + glass test tubes to hold the rings


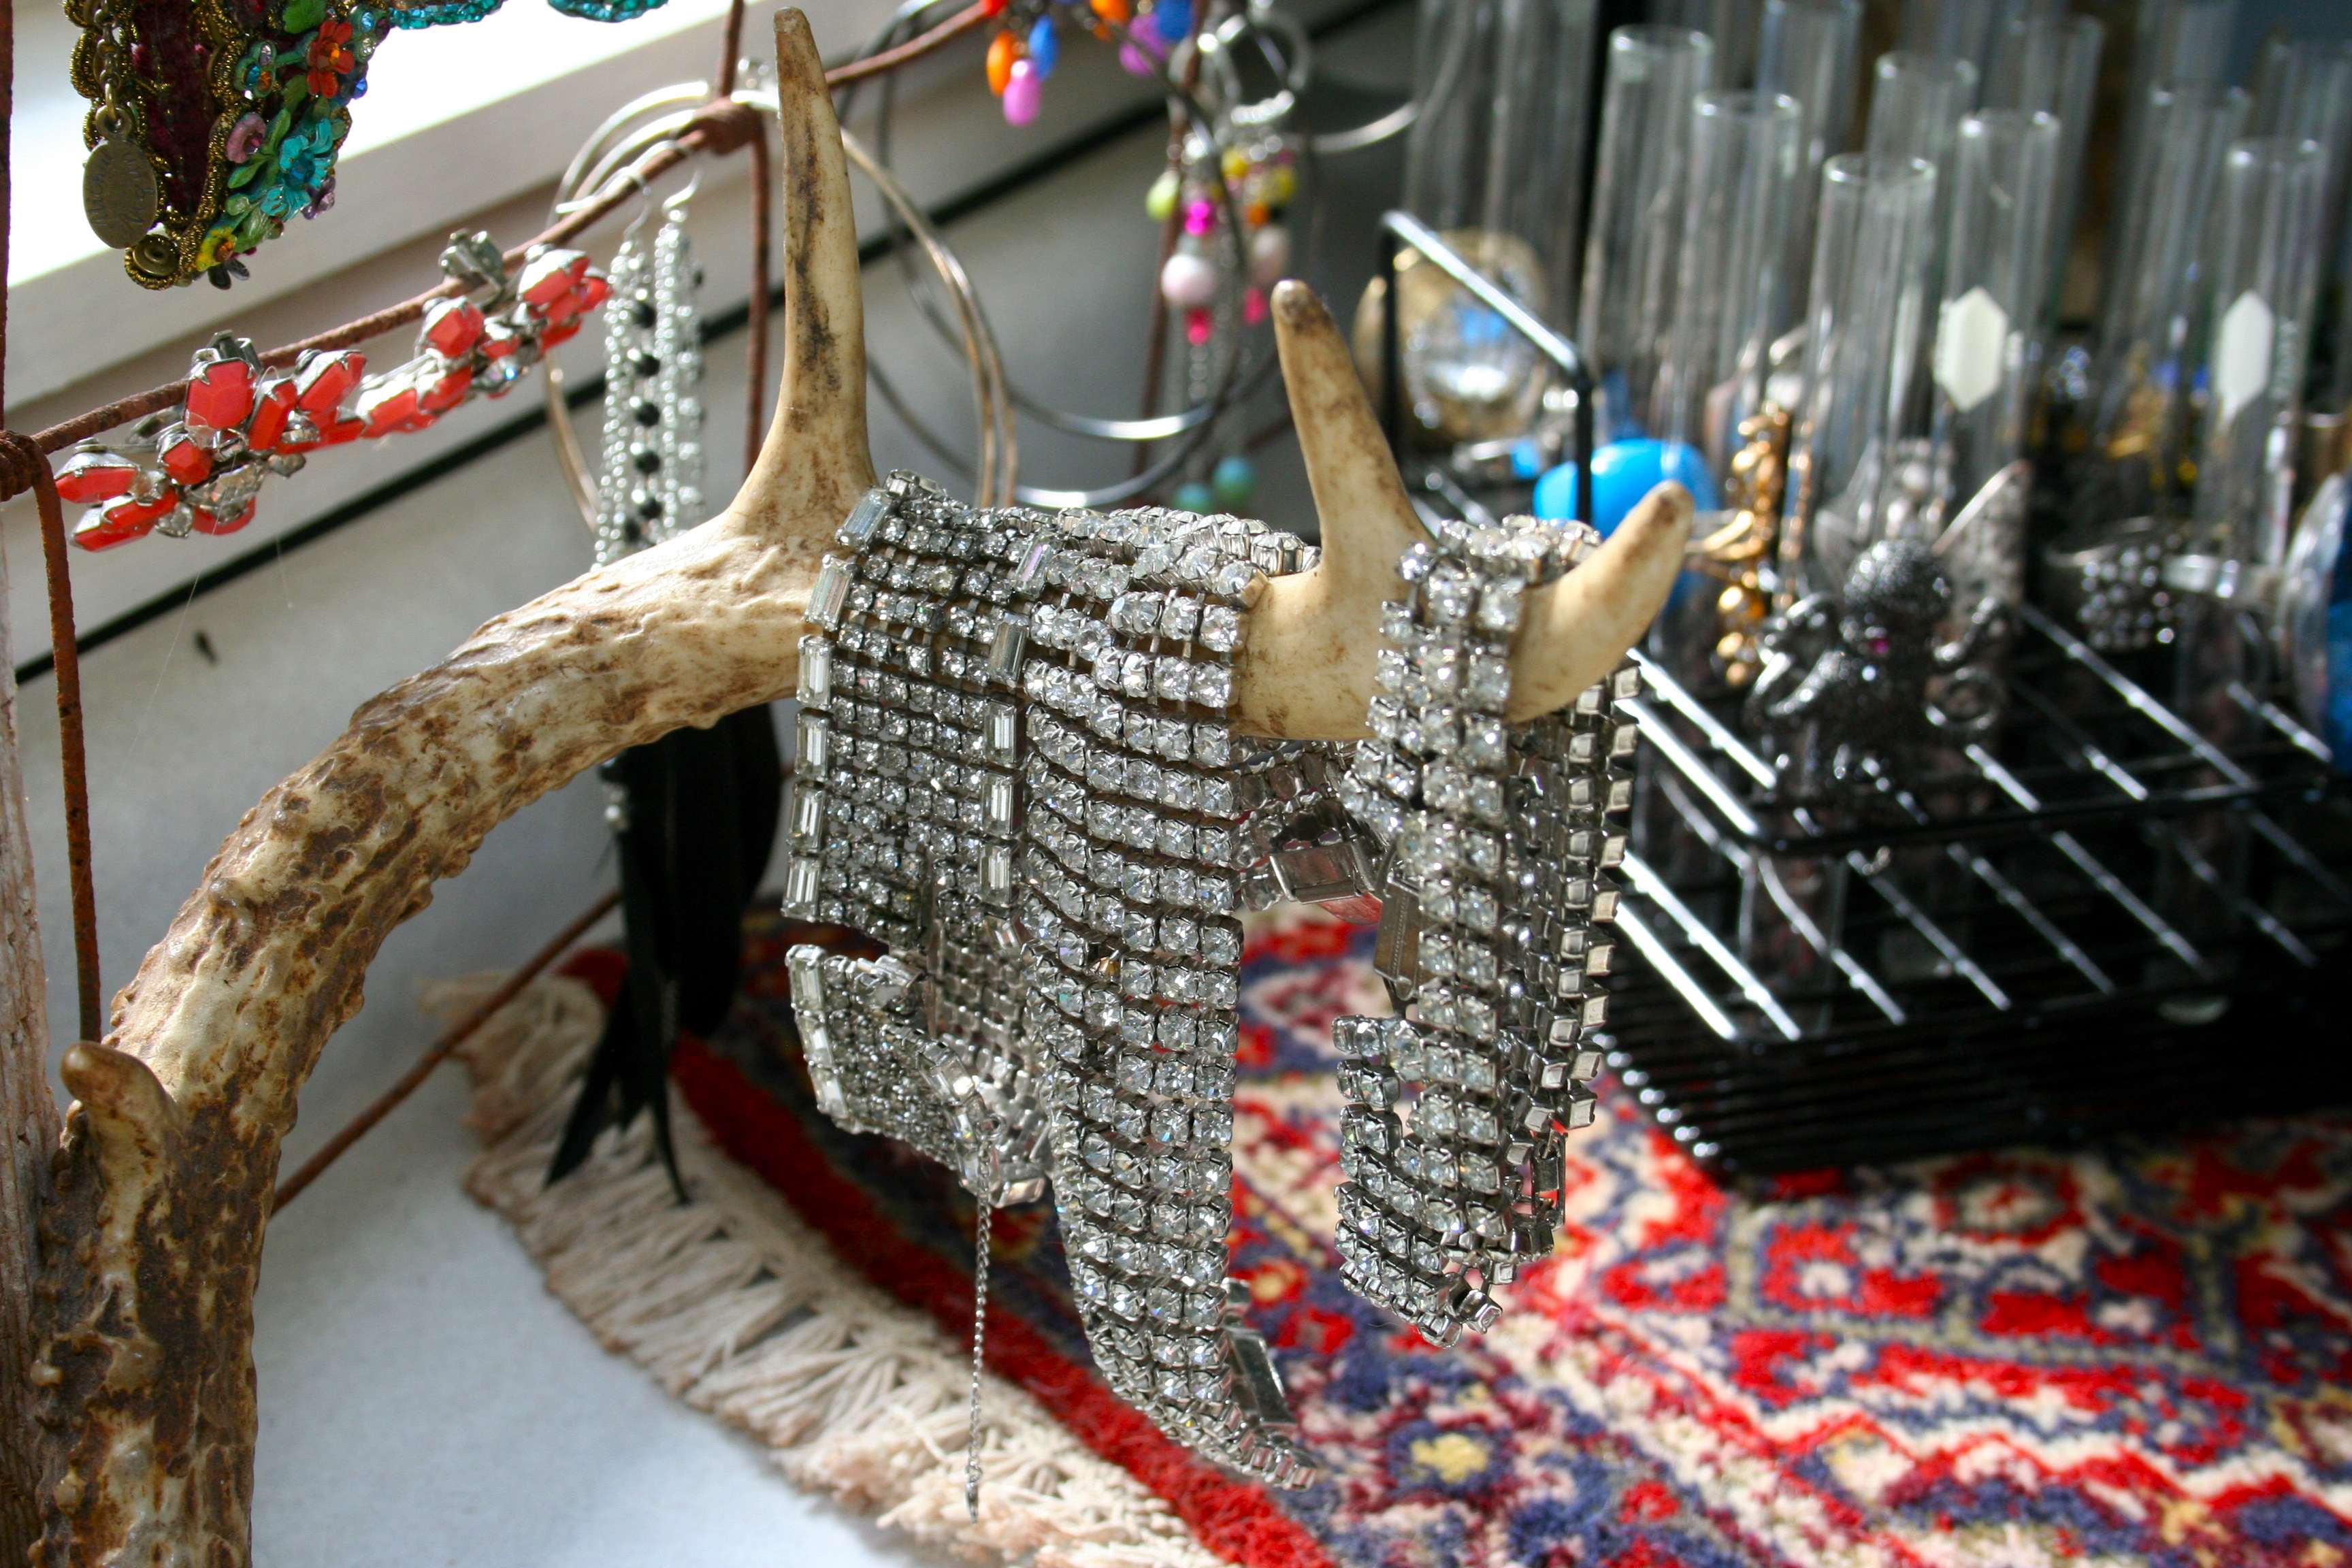
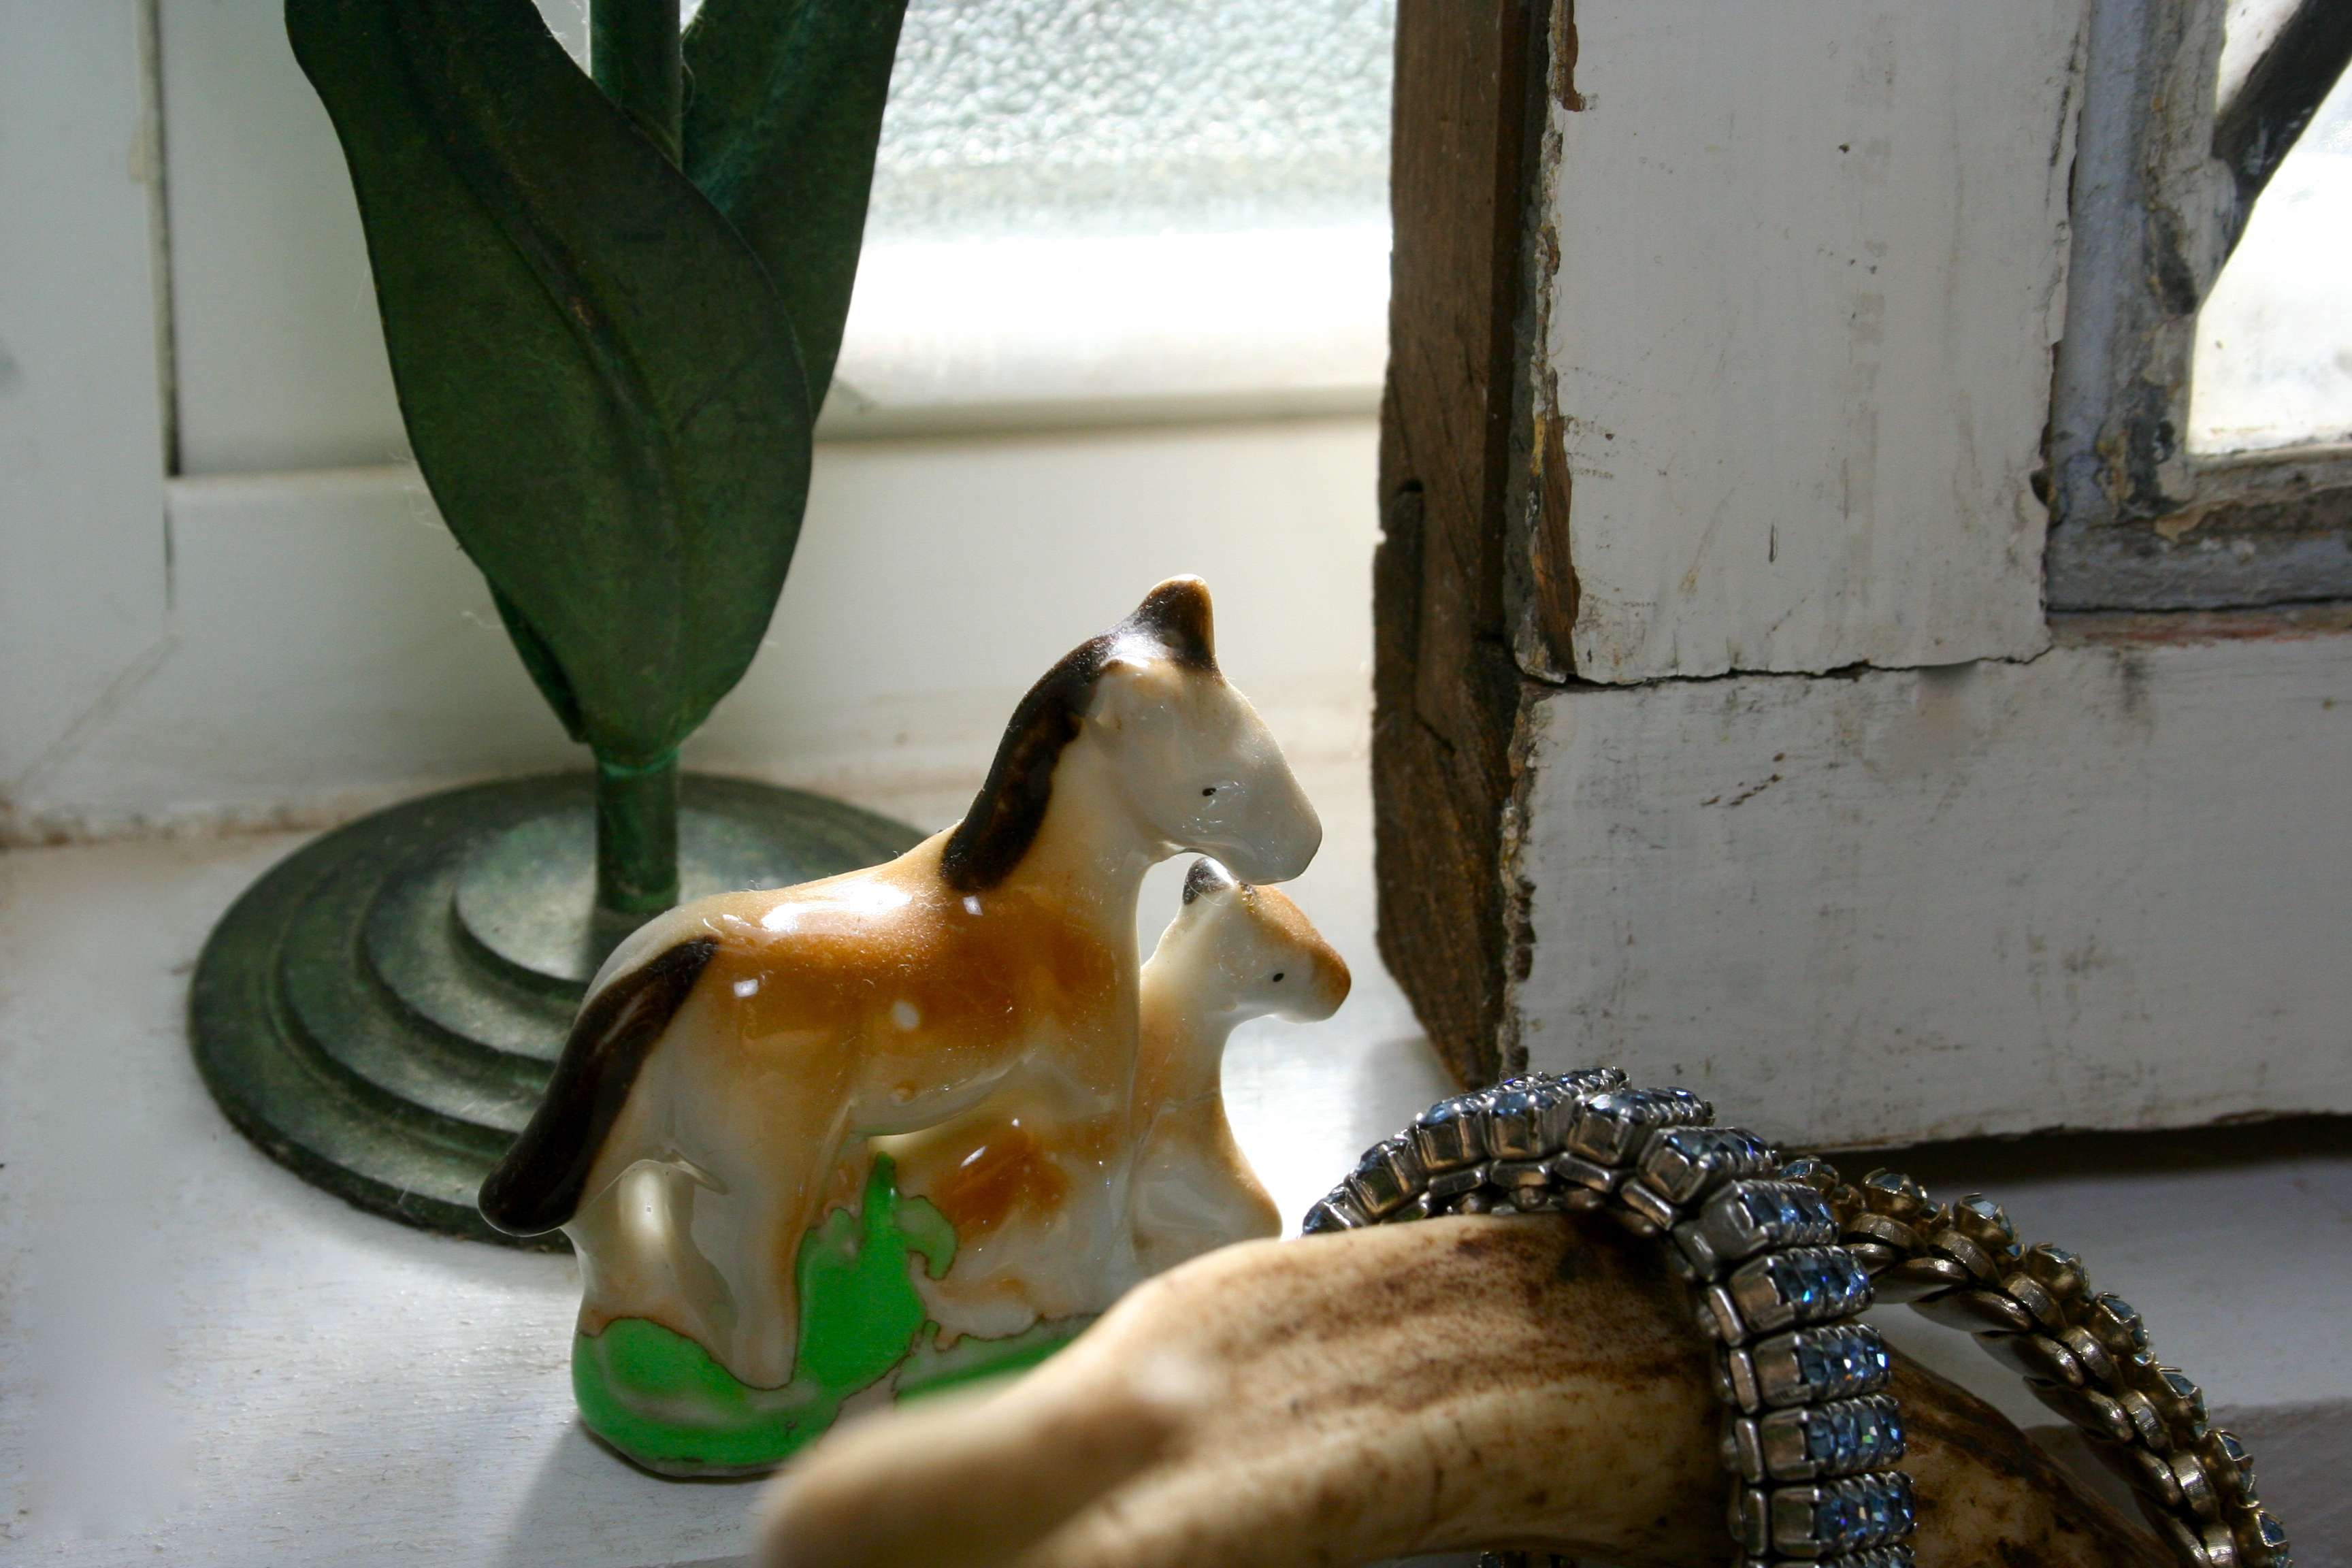
Antlers draped with rhinestone bracelets


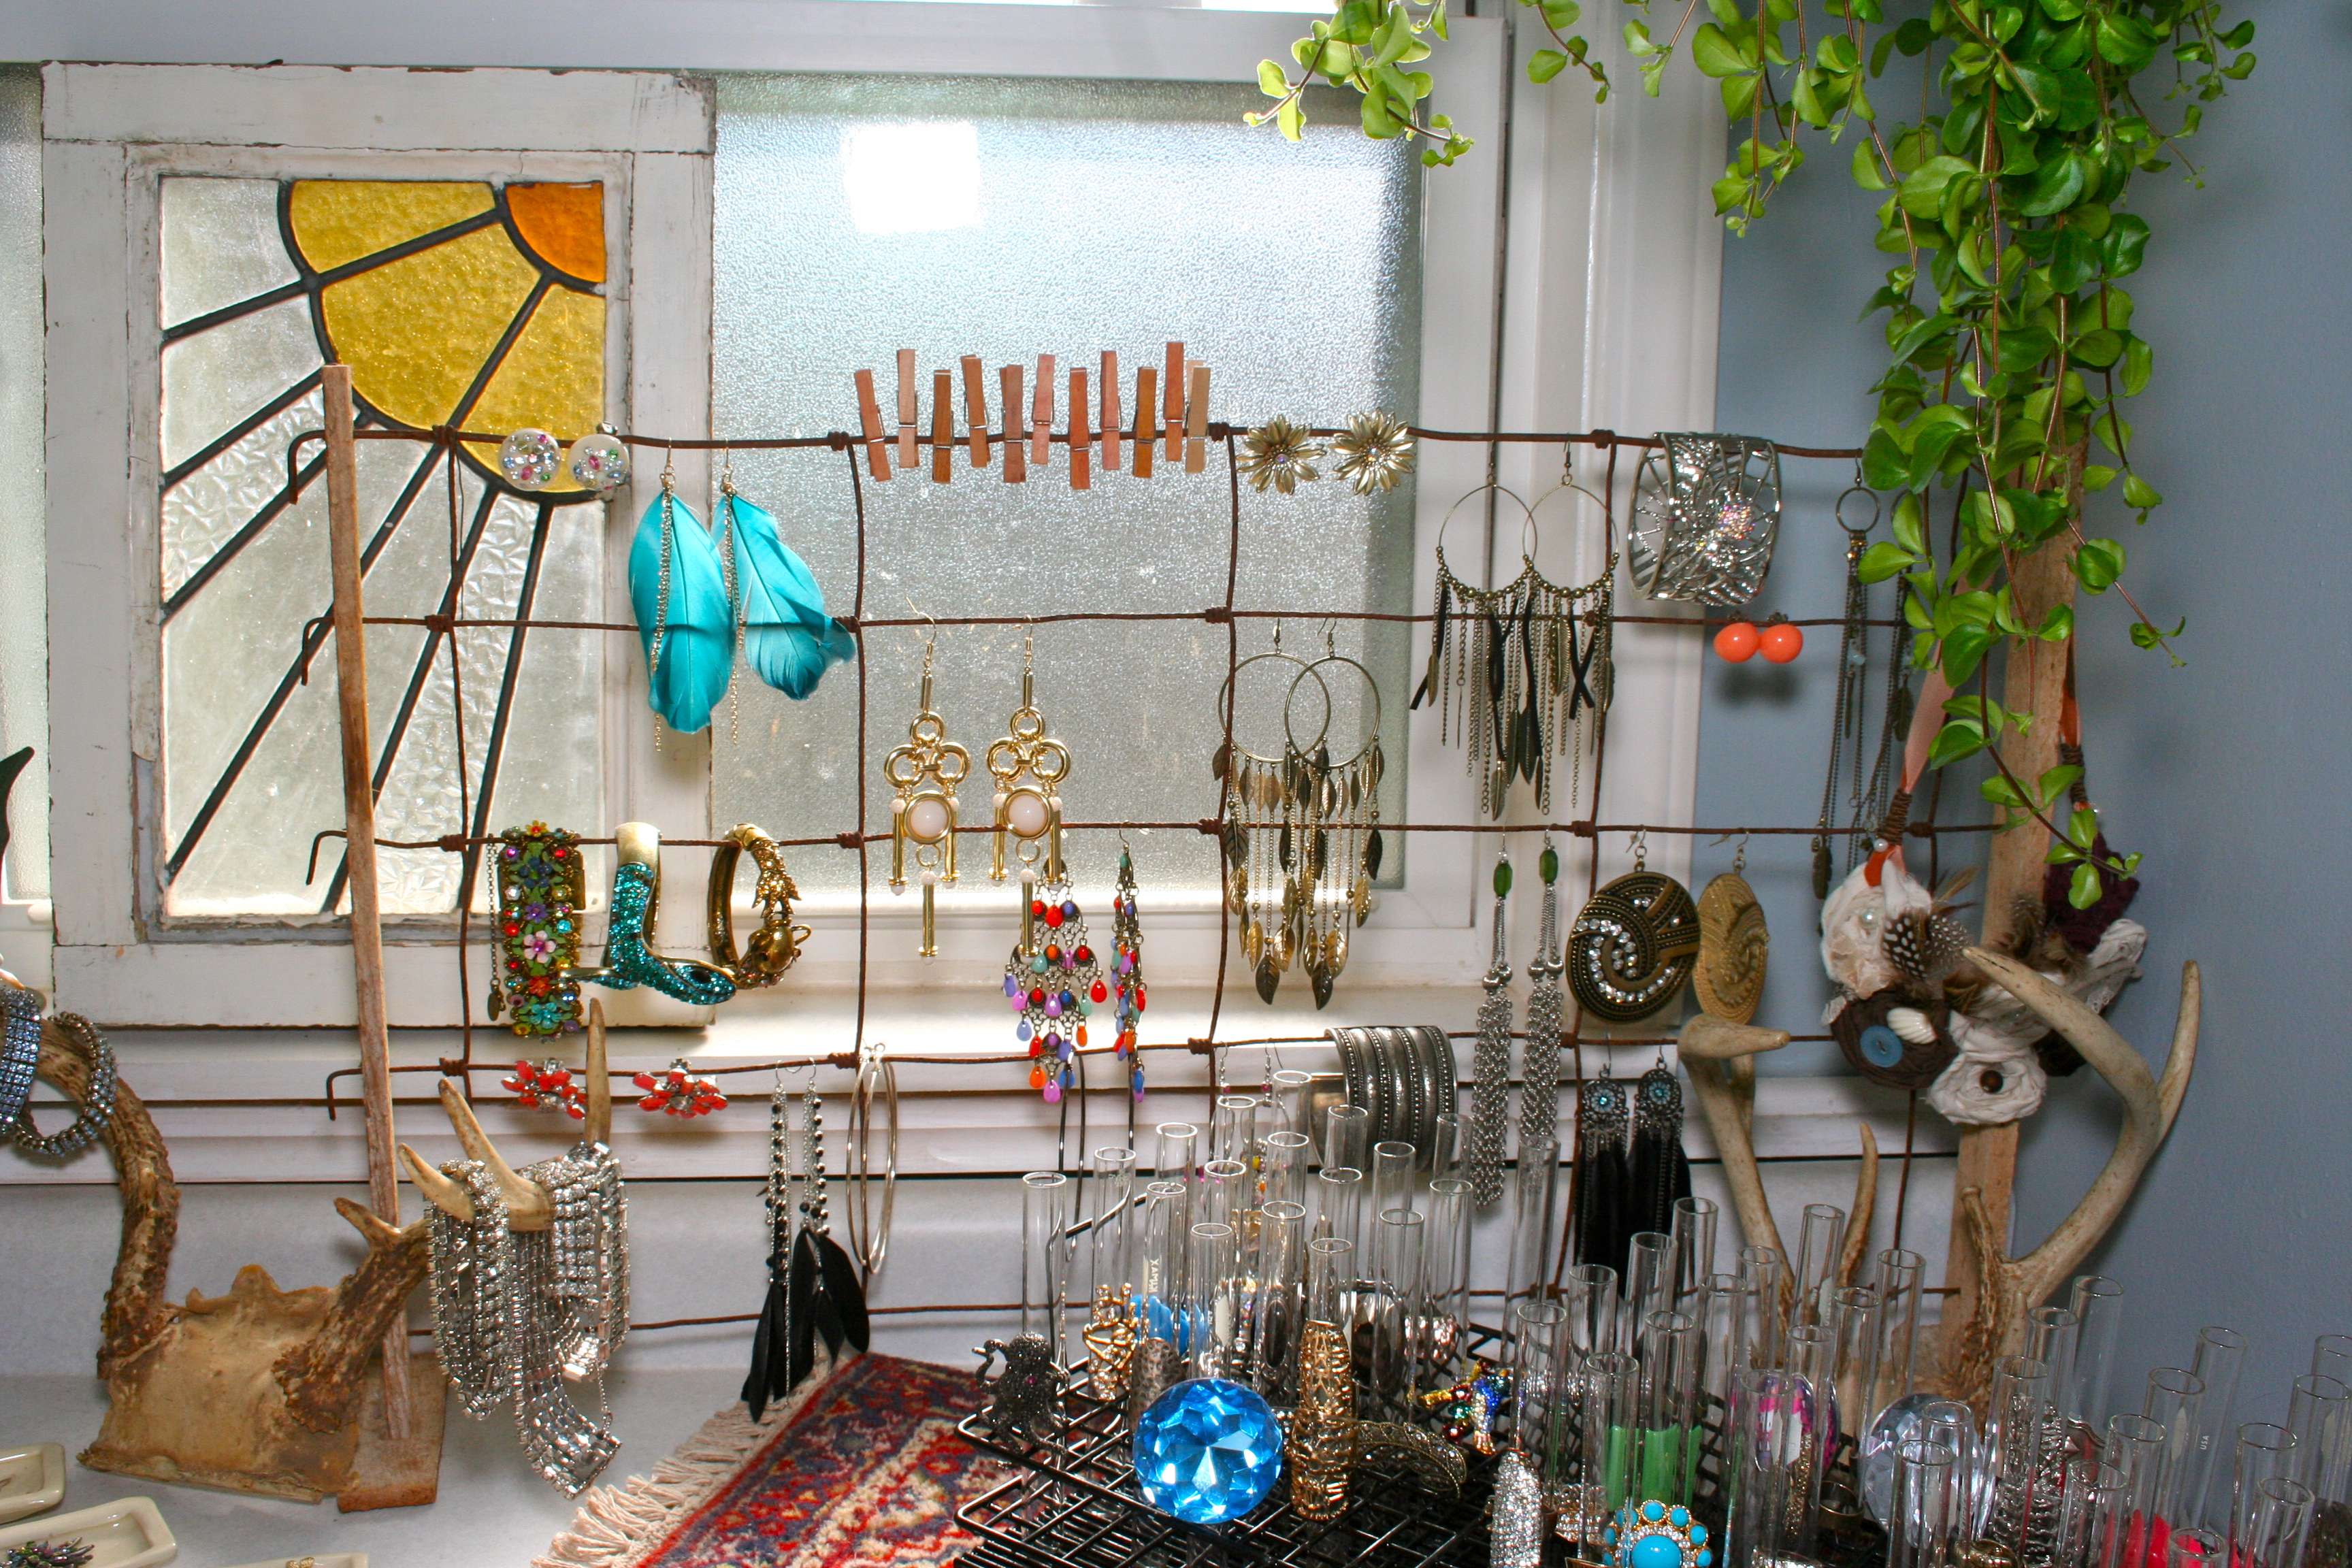
A vintage postcard fence holder for earrings -- it even works for clip-ons!


My earlier made necklace frame, created from an antique frame + metal mesh sheeting


A tiny pony, for good measure

Wednesday, October 5, 2011

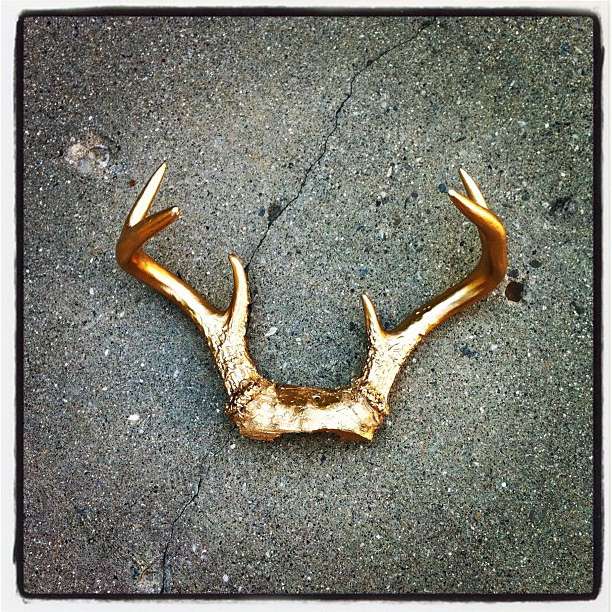
DIY { Metallic Antlers }

Don't really ask me why, but whenever I see antlers going inexpensively at auction, I buy them. If my parents are with me, they're always, "What are you going to do with those?" And my typical response: "I don't know."

But I want them and buy them anyway. So I have kind of a lot of small sets of antlers sitting about my house. Some are in my bathroom -- I drape bracelets over them as a means of both storing and displaying the jewelry. Some are in boxes.

Yesterday I was at the Hobby Lobby looking for stamps, and as happens in all good craft stores, I wandered, at some point ending up standing in front of a whole slew of spray paint. Spray paint that was ON SALE.

Well, what can I spray paint? Antlers. Of course.

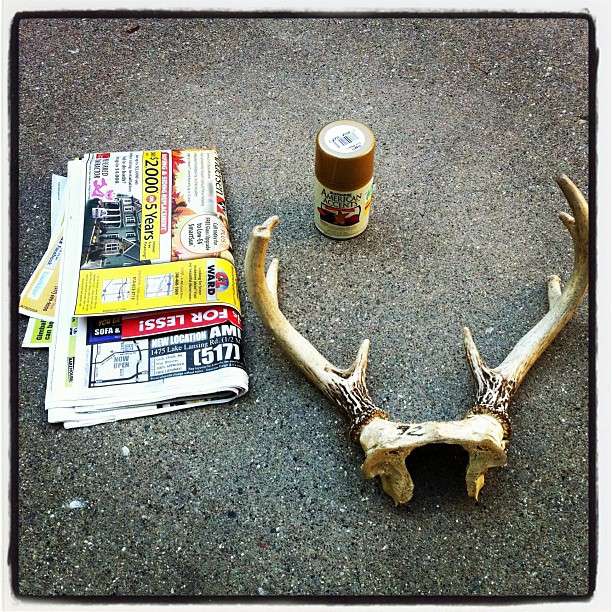
What You'll Need: Some old newspapers, ads, paper, etc. + 1 can of glossy spray paint (I used metallic gold) + 1 set of antlers. Total cost: $5.00.


Step 1: Make sure that you've got about an hour - two hours of sunshine on a relatively warm day. Spread out the newspaper outdoors (it's not really a great idea to spray paint inside, fumes what they are and all) and place the antlers on top of the paper.

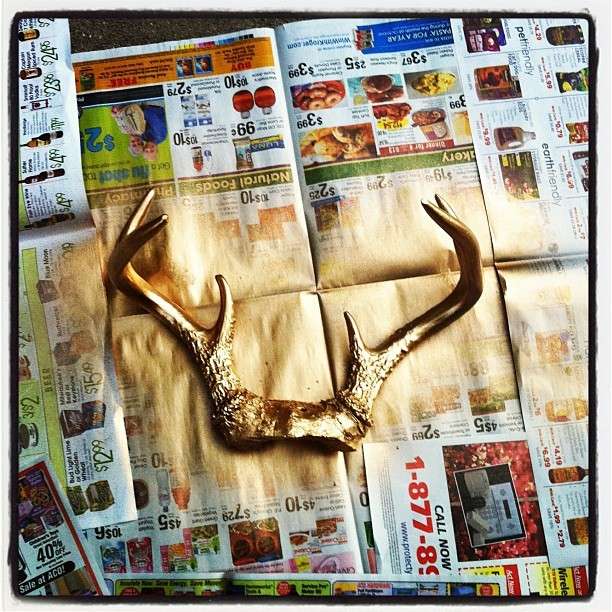
Shake the spray paint can for about 1 minute, hold the can 10" - 12" away from the antlers, and then spray, trying to cover all of the nooks and crannies.


Step 2: Let the first side dry to the touch, about 20 minutes. Flip the antlers over and repeat step 1 on any unpainted areas. Let dry about an hour.


And there you have it! Shiny antlers!

Other uses for the antlers: wall hanging, holiday tablescapes, secure them to a wall and use as a coat + purse hook.

Tuesday, June 28, 2011

DIY { Rhinestone Friendship Cuff }

Admittedly, I am not much of a crafts person. I don't have the patience - one little thing goes wrong, I get frustrated, toss the project aside, and may come back to it later.

But I wanted a sparkly cuff, and so I thought I'd give it a go.

What you'll need:


-- friendship bracelets (a selection of three to six, depending on how large you want your cuff to be, in any colors). You can make your own (great tutorial here)
-- sparkly bits (I used an extra long vintage rhinestone necklace that was broken)
-- leather or suede pieces (this is for the backing, and they can be bought at any crafts store, like JoAnn)
-- felt
-- invisible thread
-- a sewing needle
-- fabric glue

Step One: Cut a piece of the felt - about a 6" x 6" piece, though the size may vary depending on the length and width of your friendship bracelets. The felt will be the base for your cuff.

Step Two: Choose the order you want your friendship bracelets to go in, and place one on the felt. Cut a length of the invisible thread, and thread your needle. I like to double the thread through and then knot at the ends.


Step Three: Begin stitching the bracelet to the felt. The stitches can be messy on the bottom - because they'll end up covered up - but should be pretty close together on the topside. You want the bracelet to be tightly bound to the felt, and once you begin adding bracelets, you can make stitches from one bracelet to another that will help with this.


Sewing the bracelets to the felt is a little time consuming because of the invisible thread. Unlike normal thread, when this gets tangled or a stitch goes awry, you can't see the thread to easily fix it. I didn't end up throwing things at any point, but was tempted....

Step Four: Trim off any extra felt on the ends and sides. Be sure not to cut any of your invisible stitches!

Step Five: Once you have all of your bracelets stitched to the felt, it's time for sparkle!! I placed the lengths of rhinestone running in the same direction as the bracelets, and then stitched the rhinestone to the bracelets. You could add a few drops of glue beneath your sparkly bits for extra adhesion.


Step Six: Flip the cuff upside down and cut your piece of leather/suede to fit over the back. You'll want the smooth side (the nice part) to be facing up, so that you'll feel it on your wrist when you wear the cuff. Break out the glue! Make some lines of glue on the back of the cuff itself, and then run a line around the piece of leather/suede. Press the suede to the cuff - make sure it's pressed firmly.


Step Seven: Wait. That glue has to dry!

Step Eight: Here's another place where you've got some leeway. I wrapped the ends of all of my friendship bracelets together with a colorful piece of thread. You could actually add snaps, leave the ends as is, or attached another kind of closure altogether.


Step Nine: Nothing. You're done! Enjoy wearing your sparkly friendship cuff!


Saturday, October 31, 2009

DIY Headband {Butterflies}

One of the things that I love/love that's popped up in a few stores on ETSY is the headband covered in butterflies. I really wanted to get one to wear for Halloween, but couldn't bring myself to spend $30-$50 on a headband that I'd probably only wear one day. It would be nice to wear all of the time, but in reality, people would probably stare (and not in the good way).

So I wanted to see if I could do a DIY version that wasn't so costly -- and I managed one that I'm quite happy with for only $4.99!

1. Procure fake butterflies from a craft/hobby store. I got mine at Michaels; a whole package of them for $4.99


2. The butterflies that I got already had little wires attached to them (though if yours didn't, you could substitute jewelry wire for a few dollars extra.


3. I then started to wind the wire to attach them to a headband. I used a two strand one that I already had. {Mine wraps all of the way around my head, but I would recommend a hard one that slides on and off more easily)


4. Attach as many or as few as you'd like, and then, presto, butterfly headband!


Have a Happy Halloween everyone!!