Wednesday, June 29, 2011

Evening... Yours, Not His


I recently up and bought an issue of Real Simple magazine - which I never do, because their pages and their motto, "Life Made Easier," seem to assume that: (1) Most people already have really nice houses, a lot which are on the beach or in an English garden, and (2) lots and lots and lots of closet space that just needs a few simple solutions.


And yet, their most recent issue had a cover with lots of scrumptious looking food, and promised me "3 Ingredient Recipes." This is perfect, because a chef I am not. We've also been stuck in a food rut as of late, and some quick, delicious things to churn up in the kitchen are just what we need.


Sadly, the food portion took up a small space in the back of the mag, and the most promising part was a bit on yummy looking dips, none of which have only three ingredients. I forged ahead with the dip that promised it was the least labor intensive, and made this actually ridiculously good "Spinach and White Bean Dip," with a few added touches... and a drink to match, of course!

-- Spinach and White Bean Dip --

1 can of Cannellini Beans
2.5 cups of fresh spinach
1/4 cup fresh dill
1 Tablespoon lemon juice (I used about 1/2 of a freshly squeezed lemon)
1 clove chopped and quickly sauteed garlic (*I used about 3 instead)
Salt and Pepper, to taste

Throw everything together in a food processor until pureed, and then serve!

-- Frozen Strawberry Daiquiri --

1.5 cups ice
3.5 oz. strawberry daiquiri mix
1 oz (or whatever) light rum
3-4 fresh strawberries

Throw everything in a blender until, well, blended, and then serve!

Both the dip and drink are pretty girly, so queue up the latest episode of _______ (fill in the blank with whatever is waiting for you on Netflix; it's Dirty Sexy Money for me), feel free to toss out the significant other, and enjoy!

Yellow . Owl . Workshop


I love stamps. Love. I think it has something to do with being at the library when I was little. I loved the way that the librarian opened the book (the creaking of the spine and sliding of the pages), removed the date card, and then the light thumping sound that the stamp made when she inked the return date on both the card and book...


Of course now everything is scanned electronically, and all of that wonderful sound has been replaced by the same little high pitched "beep" that you hear pretty much everywhere.


Still, give me a set of pretty little stamps, ink pad, and paper, I'd be happy as a clam!


These gorgeous sets from Yellow Owl Workshop would be just perfect. I think they'd be a great way of creating different note cards for each season, or just adding a special touch to the inside of a favorite book.

Tuesday, June 28, 2011

DIY { Rhinestone Friendship Cuff }

Admittedly, I am not much of a crafts person. I don't have the patience - one little thing goes wrong, I get frustrated, toss the project aside, and may come back to it later.

But I wanted a sparkly cuff, and so I thought I'd give it a go.

What you'll need:


-- friendship bracelets (a selection of three to six, depending on how large you want your cuff to be, in any colors). You can make your own (great tutorial here)
-- sparkly bits (I used an extra long vintage rhinestone necklace that was broken)
-- leather or suede pieces (this is for the backing, and they can be bought at any crafts store, like JoAnn)
-- felt
-- invisible thread
-- a sewing needle
-- fabric glue

Step One: Cut a piece of the felt - about a 6" x 6" piece, though the size may vary depending on the length and width of your friendship bracelets. The felt will be the base for your cuff.

Step Two: Choose the order you want your friendship bracelets to go in, and place one on the felt. Cut a length of the invisible thread, and thread your needle. I like to double the thread through and then knot at the ends.


Step Three: Begin stitching the bracelet to the felt. The stitches can be messy on the bottom - because they'll end up covered up - but should be pretty close together on the topside. You want the bracelet to be tightly bound to the felt, and once you begin adding bracelets, you can make stitches from one bracelet to another that will help with this.


Sewing the bracelets to the felt is a little time consuming because of the invisible thread. Unlike normal thread, when this gets tangled or a stitch goes awry, you can't see the thread to easily fix it. I didn't end up throwing things at any point, but was tempted....

Step Four: Trim off any extra felt on the ends and sides. Be sure not to cut any of your invisible stitches!

Step Five: Once you have all of your bracelets stitched to the felt, it's time for sparkle!! I placed the lengths of rhinestone running in the same direction as the bracelets, and then stitched the rhinestone to the bracelets. You could add a few drops of glue beneath your sparkly bits for extra adhesion.


Step Six: Flip the cuff upside down and cut your piece of leather/suede to fit over the back. You'll want the smooth side (the nice part) to be facing up, so that you'll feel it on your wrist when you wear the cuff. Break out the glue! Make some lines of glue on the back of the cuff itself, and then run a line around the piece of leather/suede. Press the suede to the cuff - make sure it's pressed firmly.


Step Seven: Wait. That glue has to dry!

Step Eight: Here's another place where you've got some leeway. I wrapped the ends of all of my friendship bracelets together with a colorful piece of thread. You could actually add snaps, leave the ends as is, or attached another kind of closure altogether.


Step Nine: Nothing. You're done! Enjoy wearing your sparkly friendship cuff!


Watercolor . Blues


Dress and Belt: Vintage
Bracelet: Antique Store find
Shoes: Fendi

This dress came from an estate sale that I went to, maybe a year ago or so (more??). It was hard won for two reasons: 1) the estate had piles of clothes placed all about the house, most of which were not great, so, lots of digging for things; and 2) I had to deal with what we'll term "an estate sale troll" to get things.

Most people at estate sales are perfectly nice - focused, but nice. Except there are some people who clearly missed the polite boat. They're kind of sour, very pushy, and rude, rude, rude.

The "troll" at this particular sale literally shoved herself in front of the place I was looking on a rack, didn't even say "excuse me," or "can I look here too?" and then later, as I was paying, started going through my pile and said she'd take some things if I didn't want them. I guess at least the second time it was a question?!?!

Pretty Little Thought for the Day: A little civility goes a very, very long way!

Sunday, June 26, 2011

Printed


I've always been enamored with the brightly colored and boldly printed gauzy cotton fabric from India. The patterns are intricate and beautiful, but until recently I had no idea the kind of work that went into making them.

The blocks for the printing must first be hand-carved, and then inked before the fabric can painstakingly hand-stamped in order to create the designs. I sometimes get frustrated working on even the simplest of artistic endeavors - I can't imagine the practice and patience that this work must require!

Take a peep at the video below to see more about the process!


Photos: Barefoot Photographers or Tilonia, and Indus Decor

Tuesday, June 21, 2011

Multicolor


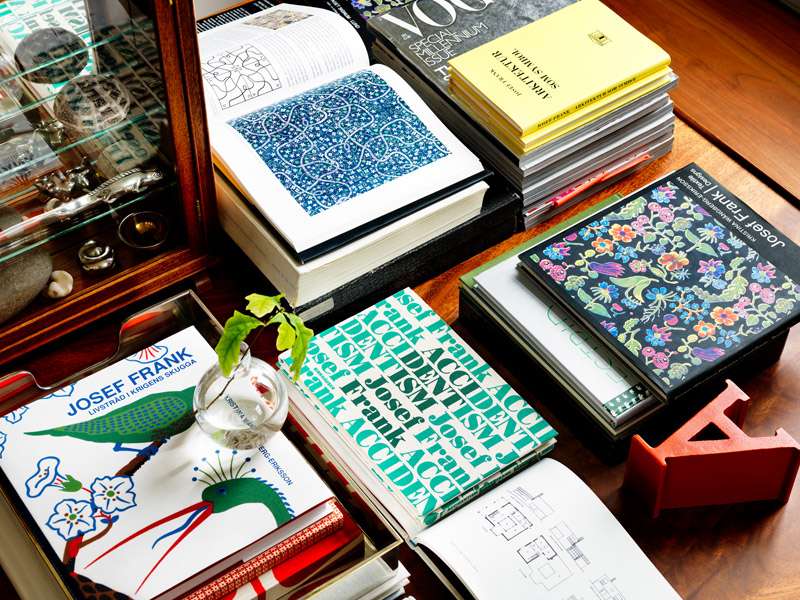
Is it possible to mix too many bright colors and bold prints in one space? Nah...
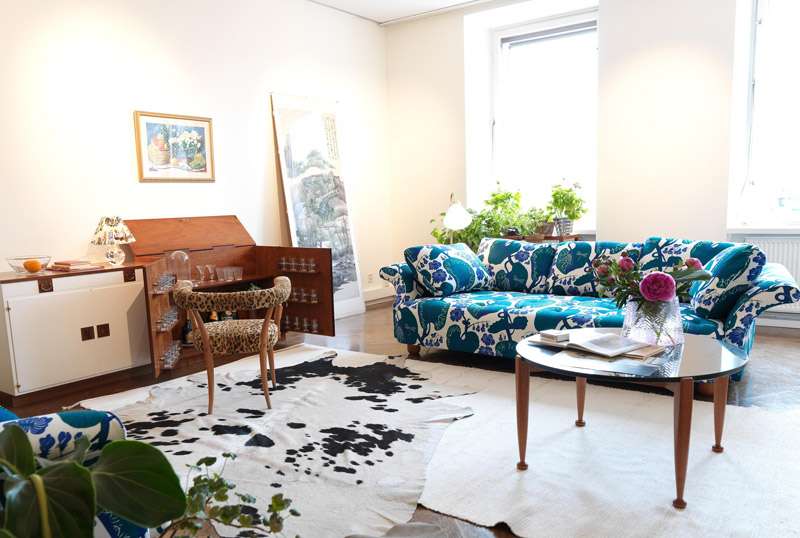
Pictures: Svenkst Tenn

Monday, June 20, 2011

Saturday, June 18, 2011

Stripes


Dress and Belt: Vintage
Shoes: Theory
Necklace: JCrew

I love, love, love this dress. It's one of those pieces that you just throw on and you're ready to go. However, there's kind of only one belt that I really like to wear with it, and for the last year, that belt has been lost. Boo. But... in a recent Mission: Vintage Organization, I found it! And so now the dress can come out to play again :)

Thursday, June 16, 2011

Confection


The Post Office/UPS has been very, very good to me this week. I've gotten in a slew of things that will be added to the shop + a little smattering of things for myself.

This pretty frock - which feels just like a teensy piece of heaven - came in the mail today from Net-a-Porter. It's a Silk Chiffon Dress from Juicy Couture, and I waited ever so patiently until it hit their sale section. This dress is perfect in every way - just ankle length, so it doesn't drag; it's lightweight and floaty; and the petal pink color is flattering on, like, everyone.

Other things in their sale section that have my eye: (1) Giuseppe Zanotti Platforms, though someone has cruelly taken my size; (2) Stella McCartney Denim Top, because it reminds me of something my mother used to wear; and this (3) Proenza Schouler Dress, even though I have no place to wear it.

Also, if this Gucci Marrakech Bag could maybe, hopefully, perhaps go on sale, I would be ever so grateful!

Wednesday, June 15, 2011

Best { Easy, Pretty Hair }


I also wouldn't mind stealing that rust/metallic blouse from the girl in the second photo :)

Pictures: ffffound and Lucy Laucht

Tuesday, June 14, 2011

Advertising . on . Pretty . Little . World


Advertising on Pretty Little World is a great way to draw additional traffic to your blog or shop. With emphases on fashion, design, and photography, PLW gets readers with a variety of interests.

There are two options for advertisers, with prices in mind for small businesses. The first (larger) option is for a 200 x 150 advertisement and the second (smaller) option is for a 100 x 100 advertisement. Ads run from the first of the month through the last (30th or 31st) of the month.

Send me a lovely little note at NikitaJade[at]aol.com for more information, including pricing!

Friday, June 10, 2011